Full Unity 2D Game Tutorial 2019 – Making Mini Map Mask
In this section we will be making the mini map and then using a mask to shape our mini map into something more appealing then a big oblong on the screen.
Full Unity 2D Game Tutorial 2019 – Making Minor Modifications
Before we start with the mini map we’re going to increase the size of our ships as they are quite small and can be difficult to see on smaller screens. We want this to be playable on many different screen sizes so we will make it a bit easier by doubling the ship sizes. To do that we will edit the spaceship sprite by clicking on it in the project window. Then set the pixels per unit to 64 and click apply to update the sprites.
As soon as you have done that you will see the spaceships are double their original size. This is only the images though, the colliders are still the normal size of 0.1. So we need to edit those as well. Select the player object and edit the collider so it is now 0.2 radius. Which is double the previous value of 0.1. Our player is now done so lets update the enemies as well. This time we will edit the enemy prefab. That’s it for the minor modifications.
Full Unity 2D Game Tutorial 2019 – Mini Map Camera
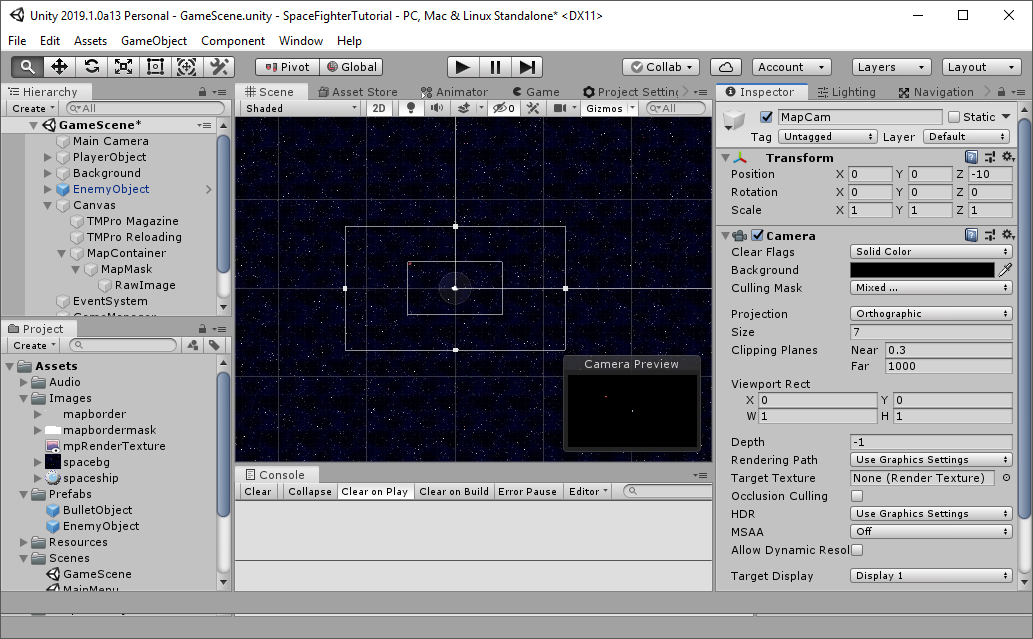
In order for us to make a mini map we need a camera which will be used to create the image used in the minimap. Think of it like a camera high in the sky over our world. Adding a camera is the same as adding any other game object. Right click in the hierarchy view and select camera and voila! we have a camera. The camera will need some adjustment to work as a minimap camera but the first thing we will do is rename it to MapCam. Then we will set its projection method to Orthographic, its size to 7 and its default color to black. Finally we update the culling mask and remove the default layer by clicking on it. This will mean our camera will ignore anything on the default layer and in our case just draw the player and enemies.
Full Unity 2D Game Tutorial 2019 – Mini Map Render Texture
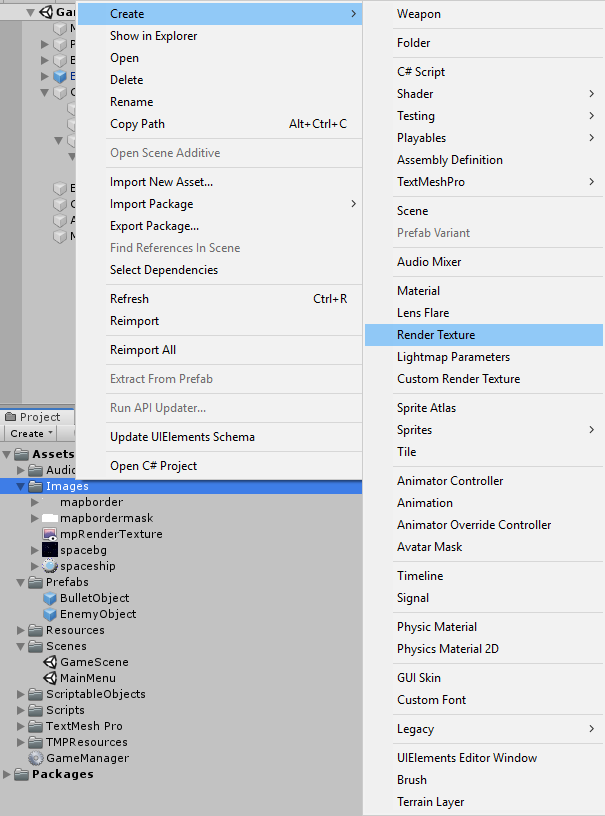
Our Camera is still working like a normal camera, we want it to render its view to an image instead of to us the player. In order to do that we first need to make a render texture. A render texture is an image which will be created only at run-time and not stored as a file and can be created by right clicking the project window and clicking create > render texture.
Name our render texture to mpRenderTexture and drag it into our camera’s target texture. Now our render texture will always contain the view from our camera and we can use this texture to display on screen with some UI elements.
Full Unity 2D Game Tutorial 2019 – Mini Map UI
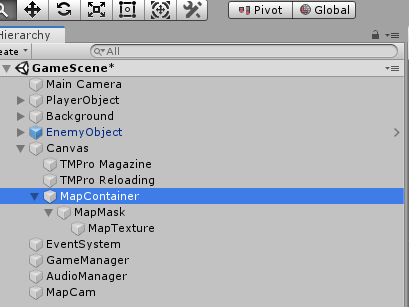
To display our new mini map render texture we will be using the canvas UI. Create an empty object called MapContainer. This will be the container that holds our map and mask. Inside that create another empty called MapMask. This will be the mask which shows or hides part of our map based on the alpha value of the mask texture we will add. Create our 3rd and final empty inside the MapMask and call that MapTexture. This will display our render texture.
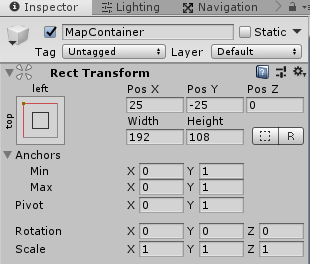
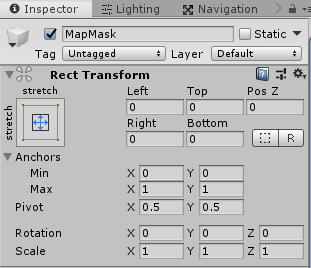
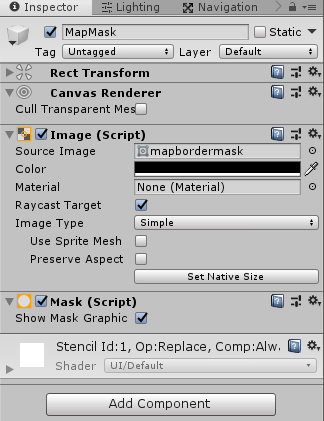
Update the anchors, pos X, pos Y, width and height of our 3 new empty objects to match the images below.
Now that out UI elements are positioned nicely we will add textures and masks to make them show the mini map. Add a Raw Image component to our MapTexture and set the Texture to our mpRenderTexture. You should now be able to see the mini map image captured by our camera in the scene and game view. But it’s a big ugly plain rectangle.
Full Unity 2D Game Tutorial 2019 – Mini Map Masks and Masking
Masking allows us to show only a portion of a texture based on the alpha value of another texture. For example we have our mini map that is a big rectangle. We could use a mask to render that rectangle as a circle by using an image of a circle surrounded by transparent pixels and applying it as a mask to our mini map texture.


Unfortunately the image we will be using are plain white and will not show up very well on this site, however they have been captioned so you should be able to see where they are. Download these images(or get them directly from the github repository) as we will be using them for our masking. Now we know what masking is lets add it to our project. On our MapMask object add 2 new components. An Image component that will hold our mask image and a Mask (script) which will turn our image into a mask. Add the Mini Map Mask image we downloaded to our project by dragging it into our images folder. Now add it as our source image and set the colour to black.
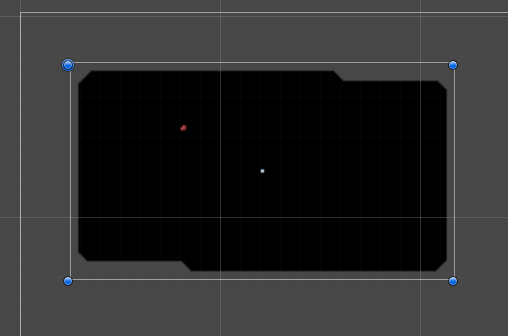
You should new have a masked mini map and it should look something like the image below:
This is better but it could use a border to make it stand out a bit more. On our map container add a new Image component and set the the source image to the Mini Map Mask Border image we downloaded earlier. Adjust the color to something you like. I used pure blue at 80 alpha and you should have a nice new mini map on your game.
The final step is to make the camera follow the player. This is made simple by the fact we already follow the player on the main camera so all we need to do is to add the FollowPlayer script to the MapCam and drag the player object to the player object slot in our FollowPlayer script.
You should now have something similar to the image above (I scaled the map up 2x to be clearer in the image above)
The finished source is available on github here.





[…] Previous Part – Next Part (coming soon) […]
[…] Source link […]