
Full LibGDX Game Tutorial – Rendering and Asset manager
Welcome to part 7 of our Full LibGDX Game Tutorial. This part will focus on rendering and using the AssetManager to load images, sounds, music and skins. If you haven’t seen the earlier parts of this tutorial I advise you to start at Full LibGDX Game Tutorial – Project setup as this tutorial continues from these earlier parts. If you’re just here to learn about the AssetManager you can look at this Asset manager tutorial. For those of you who have come from part 6, you can continue on.
What is an Asset Manager?
An Asset Manager in LibGDX is a class that is used to load and unload resources for your project. It will store a number of references an asset has and keep it loaded until it is no longer required. The Asset Manager API is viewable here. By using an Asset Manager you will load items asynchronously, keep all the assets together, stop loading duplicate resources and keep references of used assets until no other assets reference it. This will help reduce memory usage in your project as well as make loading assets easy.
Adding our own AssetManager.
Let’s create our asset manager by adding a new class called B2dAssetManager and adding it to a new package loader.

Now we have an empty class we need to add the libGDX asset manager to it as well as a string for each image we will load. For now, we will load in two images. One for our player and one for our enemies. Add The following code to your B2dAssetManager class:
|
1 2 3 4 5 6 7 8 9 |
public class B2dAssetManager { public final AssetManager manager = new AssetManager(); // Textures public final String playerImage = "images/player.png"; public final String enemyImage = "images/enemy.png"; } |
Now you will need two images to load. You can use your own 2 images or you can use these 2 awesome images that I am using. Place them in your asset folder of your android project. For me, they are located in the box2dtut\android\assets\images folder. You will have to create the images folder.
![]()
![]()
Now you have the images we need a method in our manager that says which items we want to load, so let’s add that method:
|
1 2 3 4 |
public void queueAddImages(){ manager.load(playerImage, Texture.class); manager.load(enemyImage, Texture.class); } |
Adding The Asset Manager to your Game
This tells the manager that the images we want to load are textures and should be queued for loading. The loading of the images happens later in our main class. This is all we need in our asset manage for now. Now we need to add the asset manager to our main class Box2DTutorial. In the Box2DTutorial class your field list should look like this:
|
1 2 3 4 5 6 7 8 9 10 11 12 |
private LoadingScreen loadingScreen; private PreferencesScreen preferencesScreen; private MenuScreen menuScreen; private MainScreen mainScreen; private EndScreen endScreen; private AppPreferences preferences; public B2dAssetManager assMan = new B2dAssetManager(); public final static int MENU = 0; public final static int PREFERENCES = 1; public final static int APPLICATION = 2; public final static int ENDGAME = 3; |
The code “public B2dAssetManager assMan = new B2dAssetManager();” is a way to define the field assMan and populate it with a new instance of the B2dAssetManager when the class loads instead of defining the field then populating it in the constructor. This field is also public so we can access it from in our screen.
Now we have our asset manager in our main class we need to use it in our mainScreen. Add the following code to your MainScreen’s constructor:
|
1 2 3 4 5 6 |
// tells our asset manger that we want to load the images set in loadImages method parent.assMan.queueAddImages(); // tells the asset manager to load the images and wait until finsihed loading. parent.assMan.manager.finishLoading(); // gets the images as a texture playerTex = parent.assMan.manager.get("images/player.png"); |
Here we tell the asset manager what images we want to be loaded, then we say load those images and wait until they are finished loading, finally, we assign the image to a field playerTex which we can then use to render.
Accessing the player Body
Now we have the image loaded we want to render it to the screen. In order to do that we need to be able to access the player details from our screen. So in our model, we make sure our player body is a field and it is public.
|
1 |
public Body player; |
And make sure the player body is set to the player field
|
1 2 |
// add a player player = bodyFactory.makeBoxPolyBody(1, 1, 2, 2, BodyFactory.RUBBER, BodyType.DynamicBody,false); |
Now we can access the player in the MainScreen as well so let’s get into the rendering.
Rendering – SpriteBatch
If you’re rendering a lot of images to the screen it is best to use a SpriteBatch. A SpriteBatch is used to make the rendering of lots of images happen all at once. This is because rendering images is costly and takes time and rendering a lot of images at once is faster than rendering one image then rendering another and so on. So let’s make a SpriteBatch in our MainScreen class’s constructor:
|
1 |
sb = new SpriteBatch(); |
Next, we need to use the sprite batch to draw the playerTex on the screen in the right location. Add the following to your render method:
|
1 2 3 |
sb.begin(); sb.draw(playerTex, model.player.getPosition().x,model.player.getPosition().y); sb.end(); |
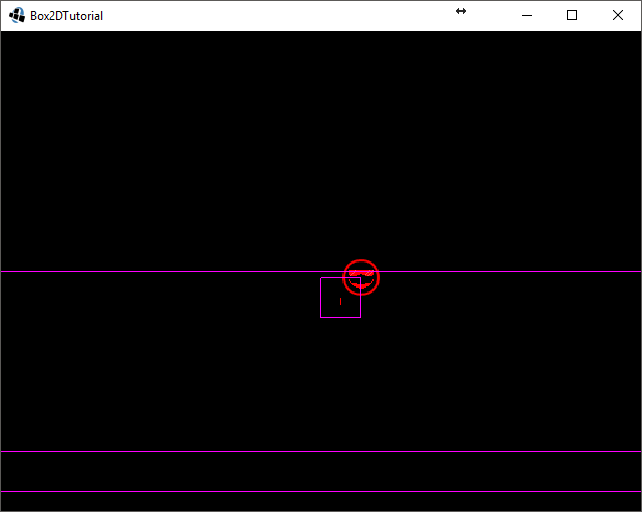
Now if you run your game you should get something similar to this:
![]()
Hmm, it’s not rendering correctly. This is due to how the SpriteBatch is set to 640 x 480(screen size) and our camera is set to 32 x 24. We can fix this by telling the SpriteBatch that we are using an OrthographicCamera with the 32 x 24 screen size. Replace the SpriteBatch code with the following:
|
1 2 |
sb = new SpriteBatch(); sb.setProjectionMatrix(cam.combined); |
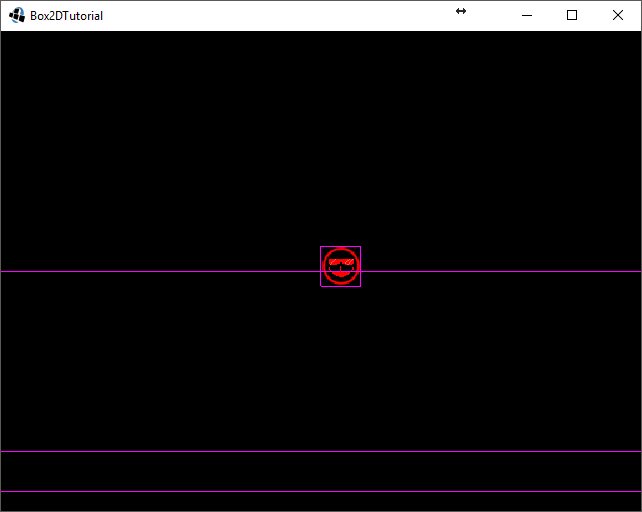
Now let’s try that again.

Woah, it’s huge. Obviously not what we want. This is because when we render the image in the sprite batch we don’t specify the size to draw it. If no size is set the sprite batch will draw it as wide and tall as the texture. In our case, it’s a 32px by 32px image so it’s being drawn 32 units wide. Our player is only 2 units wide so we have to tell it to draw our image 2 units wide. Replace your render code to match this code:
|
1 2 3 |
sb.begin(); sb.draw(playerTex,model.player.getPosition().x,model.player.getPosition().y,2,2); sb.end(); |
Now let’s check again…
Yup, it’s still not right. It’s getting there but it’s just off a tad. This is because when the SpriteBatch draws an image it draws it from the corner whereas Box2D bodies are positioned around the centre. To fix this we have to position the texture 1/2 the width to the left and 1/2 the height down. For now, we can just use -1 on each of the positions to fix this but later we will store the player class in the body’s userdata which will contain the size and we will use that to get the offset needed to display the image correctly.
Again update your render code to this:
|
1 2 3 |
sb.begin(); sb.draw(playerTex,model.player.getPosition().x -1,model.player.getPosition().y -1,2,2); sb.end(); |
Now run your game and see what we get.
Finally, we got it to render in the right location.
Loading Sounds
Ok, now we are able to render images we want to add sounds to our game and play them. Loading sounds with the asset manager is the same as loading images except you need to specify the sound class as the class the asset will be loaded as. I downloaded my sound files from www.freesound.org which is a great site for finding free sounds to use in your games. You can download your own sounds or use these 2 sounds I downloaded.
Now we have our sounds we can add them to our project by placing them in the assets/sounds folder of the android project. You will have to add the folder yourself and then refresh your android project in eclipse so eclipse knows about the new files. Now, you can add the following code to your asset manager to allow the loading of the sounds:
|
1 2 3 4 5 6 7 8 |
// Sounds public final String boingSound = "sounds/boing.wav"; public final String pingSound = "sounds/ping.wav"; public void queueAddSounds(){ manager.load(boingSound); manager.load(pingSound); } |
We can now load our sounds and now we need to be able to play them. We will put our sound control in our model so we will need to be able to access our AssetManager from our model. Let’s add the code to allow our model to access the asset manager in our MainScreen class:
|
1 |
model = new B2dModel(controller,cam,parent.assMan); |
Now update the Model class to use this extra argument:
|
1 2 3 4 5 6 7 8 9 10 11 |
private KeyboardController controller; private B2dAssetManager assMan; // new public boolean isSwimming = false; public Body player; private OrthographicCamera camera; public B2dModel(KeyboardController cont, OrthographicCamera cam, B2dAssetManager assetManager){ // updated assMan = assetManager; // new camera = cam; controller = cont; |
We have the asset manager in our model, now we can use it to load the sounds. Use the code below and add imports and fields as required:
|
1 2 3 4 5 6 7 8 9 10 11 12 13 14 15 16 |
this.assMan = assetManager; camera = cam; controller = cont; world = new World(new Vector2(0,-10f), true); world.setContactListener(new B2dContactListener(this)); createFloor(); //createObject(); //createMovingObject(); // tells our asset manger that we want to load the images set in loadImages method assMan.queueAddSounds(); // tells the asset manager to load the images and wait until finsihed loading. assMan.manager.finishLoading(); // loads the 2 sounds we use ping = assMan.manager.get("sounds/ping.wav", Sound.class); boing = assMan.manager.get("sounds/boing.wav", Sound.class); |
We have our sounds loaded in our model, we just need 2 more things and those are playing the sound in our model and triggering the sound based on an event. In order to play the sound in our model, we will add a public method that takes an integer as all our sounds will be in the model it’s a good idea to plan for using multiple sounds now. In our model add the following method:
|
1 2 3 4 5 6 7 8 9 10 |
public void playSound(int sound){ switch(sound){ case BOING_SOUND: boing.play(); break; case PING_SOUND: ping.play(); break; } } |
Again we’re using a switch statement, this time we’re using it to switch between the different sounds. Now let’s add the constants to our that will make the code more readable:
|
1 2 3 4 5 |
private Sound ping; private Sound boing; public static final int BOING_SOUND = 0; // new public static final int PING_SOUND = 1; //new |
Our model now has a public method that other objects can use to play sounds and some constants that make it easier to see what sounds are being played. We just need to add a trigger to play these sounds. Let’s make it so when the player hits the floor and is shot into the air a sound plays. We already have some code in our controller that controls when the player is shot up so lets add our code to play the sound there. In our controller update the shootUpInAir method:
|
1 2 3 4 5 |
private void shootUpInAir(Fixture staticFixture, Fixture otherFixture){ System.out.println("Adding Force"); otherFixture.getBody().applyForceToCenter(new Vector2(-1000,-1000), true); parent.playSound(B2dModel.BOING_SOUND); //new } |
Now, when you play your game and the player hits the floor they will be shot up in the air and the boing sound will play.
Music
Now we’re going to add some music to your game. Music will be loaded in the asset manager pretty much the same as sounds and textures except this time we’re going to load them into our Box2DTutorial class. This is because sounds will only get played in the game but the music will be played as soon as you open the game so our sounds can be loaded in the model as this isn’t loaded when the game starts. For music, I will be using ta song called pl4y1ng by role music and it is freely available from the Free Music Archive. This is a good site for getting music for your games, just make sure you check which licence is used by the owner before using.
Add the music loading code to your asset manager like usual:
|
1 2 3 4 5 6 |
// Music public final String playingSong = "music/Rolemusic_-_pl4y1ng.mp3"; public void queueAddMusic(){ manager.load(playingSong, Music.class); } |
Our asset manager is ready to load the music now in the Box2DTutorial create method add the
|
1 2 3 4 5 6 7 8 9 10 11 12 13 14 15 16 |
@Override public void create () { loadingScreen = new LoadingScreen(this); preferences = new AppPreferences(); setScreen(loadingScreen); // tells our asset manger that we want to load the images set in loadImages method assMan.queueAddMusic(); // tells the asset manager to load the images and wait until finished loading. assMan.manager.finishLoading(); // loads the 2 sounds we use playingSong = assMan.manager.get("music/Rolemusic_-_pl4y1ng.mp3"); playingSong.play(); } |
Now when you start your game the song should automatically start playing. If you replace play() with loop() it will continuously play in a loop.
Skins
Previously we have already loaded our skin in our menu screen, now we’re going to move the loading into our asset manager. Skins different from our previous loading methods because skins are composed of multiple files. For things with multiple files, we have to add a parameter. These parameters exist for things that require multiple files such as perticle effects. Add the follwing import as eclipse sometimes misses this import when trying to do it automatically:
|
1 |
import com.badlogic.gdx.assets.loaders.SkinLoader.SkinParameter; |
Now add the following field and method:
|
1 2 3 4 5 6 7 |
// Skin public final String skin = "skin/glassy-ui.json"; public void queueAddSkin(){ SkinParameter params = new SkinParameter("skin/glassy-ui.atlas"); manager.load(skin, Skin.class, params); } |
Here we have added the glassy-ui.json as the skin file and the glassy-ui.atlas as the SkinParameter. Now we can load our skin let’s replace our old skin loading with the asset manager version in our MenuScreen class:
|
1 2 3 4 5 6 7 8 9 |
public MenuScreen(Box2DTutorial box2dTutorial){ parent = box2dTutorial; /// create stage and set it as input processor stage = new Stage(new ScreenViewport()); parent.assMan.queueAddSkin(); //new parent.assMan.manager.finishLoading(); // new skin = parent.assMan.manager.get("skin/glassy-ui.json"); // new } |
Once added add the skin field as per usual and remove the old skin loading code and we’re done. We’ve loaded textures, sounds, music and skins using our asset manager. There is one more thing we need to do and that is to dispose of our asset manager when were finished. If we don’t dispose our asset manager all our loaded assets will lead to a memory leak. To add the dispose call we will have to override the dispose method in thew class we load our asset manager in and that is the Box2DTutorial class.
|
1 2 3 4 5 |
@Override public void dispose(){ playingSong.dispose(); assMan.manager.dispose(); } |
That’s all for part 7. From now on at the end of each part I will add a link to download the entire project as a zip file which for this part you can download from stormyvids. In part 8 we will be going over the texture packer and moving all our asset manager loading into our loading screen as well as creating a loading bar.
| ← Input Controller | — Contents — | Loading Screen → |
hm.. no posts on Part 7. Great job, Sir John Day.
Really enjoying your tutorial – you’ve definitely taught me.
ass Man )
what is the finished loading function?
never mind I see where it comes from (the asset manager field)
man thank you so much for this tutorials hope you have a wonderful day