

Unity 2D Game Tutorial

Unity 2D Game Tutorial – Tutorial Goals
The aim of this tutorial is to guide you through creating a 2D game in Unity 2019. This will cover all aspects from project setup, adding entities, player controls and all the way to publishing the game on Itch.io. In this tutorial we will be using the latest(at time of writing) unity which is version 2019.1.0a13.
Unity 2D Game Tutorial – Required tools
The first and only thing you will need for this part of the tutorial is the unity hub which can be downloaded here. I have downloaded unity hub and installed version 2019.1.0a13.
Unity 2D Game Tutorial – Project setup
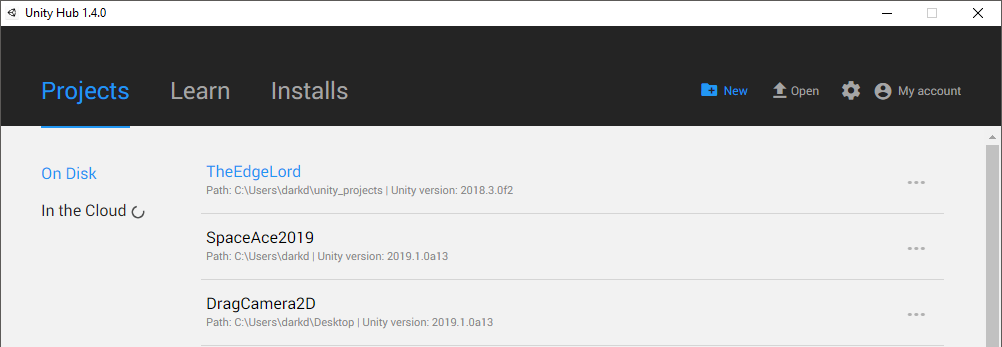
Once you have unity hub downloaded and unity is installed you can hit the + new button in the top right off the unity hub to create a new project
 This will lead you to the project settings window shown below
 The options are:
- Project name
- This is the name of the project (Duh!)
- Location
- This is where you want the folder to be create that will house your project files
- Organization
- This is the owner of the project
- Unity Version
- This is where you set which version of unity you want the project to be created with
- Template
- Here we can set the project type
- 2D – a flat 2 dimensional game
- 3D – a 3D game
- 3D with extras – 3D with many feathers already setup
- High Definition RP – This comes with the High Definition Render Pipeline
- VR lightweight RP – This is for creating VR games with the VR render pipeline
- Here we can set the project type
For more information about project types visit https://docs.unity3d.com/Manual/ProjectTemplates.html
For now we will setup a new 2D project with the settings shown in the image above. Once done Unity should open with a layout like the image below.
Unity 2D Game Tutorial – Window Layout

Before we move on lets see what we have presented to us in the unity IDE when we create a new project.
 In the image above we can see that the first window is the hierarchy window. This window has a SampleScene and a main camera. This is a list of all the objects that exists in our 2D world. The scene(SampleScene) is the container which holds all our world objects. Think of it like a chapter in a play. The first chapter is the introduction (our menu), the second chapter is the storey(our game) and the third and final chapter is the ending(our end screen).
In our scene we have a camera. We need a camera to represent the player behind the screen or phone or whatever they’re using to play the game. Without a camera we have no way to present the world to the player. Essentially this represents the eyes of the person who will play the game.

Next we have the Project window which has an assets folder and packages folder. This is where all the files for our game will be placed. All our images, scripts, object prefabs materials and tools etc.
The scene view is the next window. This allows us to see our 2D world as a developer. We can see all our game objects here and interact with them using the tools like move, grab and rotate. This is where we will move our player, scenery, camera etc.
Console is the next window and a valuable tool. Here we will see all the problems that happen in the game. If we forget to set the player’s size ro forget to put an image in for our player we will get notified here.
The final window showing is the inspector. This allows us to inspect the properties of the selected object. if we click on the camera in the Scene view we will see all the properties of the camera in the inspector view. We will also be able to change the values here.

The last window which isn’t shown in the image above is the Game window. This is a tab near the Scene view title. This window will show us the game as the player sees it. We wont be able to change things but we will be able to experience the project like the player would.
Unity 2D Game Tutorial – Project Download
If you want to download the empty project in order to follow along with future tutorials you can download the project from here Full Unity 2D Game Tutorial Project