
Full Unity 2D Game Tutorial 2019 – Game Manager
A Game Manager is a c# script we can create which will be used to help coordinate the game. We will use it to spawn new enemies when there isn’t enough and in the future use it to spawn power-ups and health pickups.
Full Unity 2D Game Tutorial 2019 – Creating the Game Manager
To create our Game Manager we will first create a new empty object and name it GameManager. We will then add a c# script component and also name that GameManager. Now if you look in you assets you will see the newly create Game Manager and it will look different to the usual c#Script because Unity knows us developers like to use a Game Manager class to manage certain game mechanics.

So now we have one we will want to spawn enemies. The easiest way for us to do that is to create an Enemy prefab that we can use in our Game Manager to Instantiate. Drag and drop the EnemyObject into the prefabs folder to create our new prefab. You should end up with your EnemyObject turning blue in the Hierarchy window. This lets us know the Item has ascended from standard object to a prefab.
Full Unity 2D Game Tutorial 2019 – Game Manager Code
|
1 2 3 4 5 6 7 8 9 10 11 12 13 14 15 16 17 18 19 20 21 22 23 24 25 26 27 28 29 30 31 32 |
using System.Collections; using System.Collections.Generic; using UnityEngine; public class GameManager : MonoBehaviour { public int enemyLimit = 20; private int currentEnemeyCount = 0; public GameObject enemyPrefab; public Rect SpawnArea; // Update is called once per frame void Update() { // do we have enough enemies if (currentEnemeyCount < enemyLimit) { // no, no we do not! so create one. Vector3 spawnLocation = new Vector3( Random.Range(SpawnArea.x, SpawnArea.y), // x position Random.Range(SpawnArea.width, SpawnArea.height),// y position 0); // z position GameObject go = Instantiate(enemyPrefab, spawnLocation, Quaternion.identity); currentEnemeyCount += 1; // we made one, so note it down in our var } } // we got one! pew pew public void enemyDied() { currentEnemeyCount--; } } |
Code Notes:
We check if there is enough enemies and if not create 1 more. (we only create 1 per frame as Instantiate is an expensive process and we are not using pooling)
Added a method to decrease enemy amount to be called by Enemy when they die.
Rect is simple a Rectangle object that stores the position of each side. (we use this to define the spawn area)

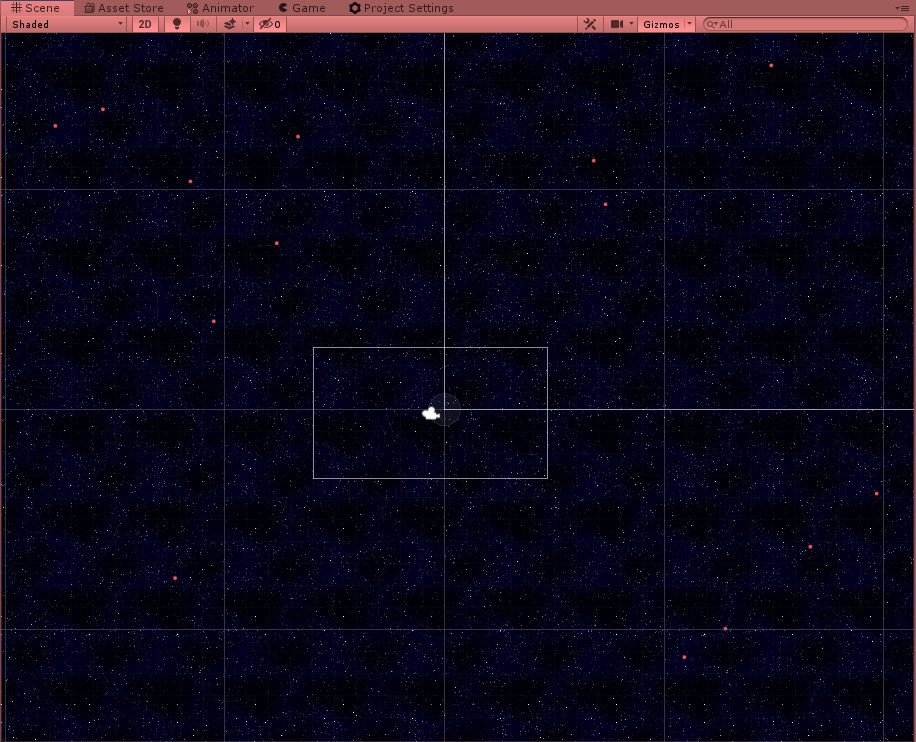
Remember to set the Game Manager up with the enemy prefab and the spawn locations. Now, if we run our Game we should be able to see some enemies.
That’s it for the Game Manager. Quite a short section of the tutorial so let’s do something extra. If, like me, your sick of seeing loads of Knobs on the screen, then have I got news for you.
Full Unity 2D Game Tutorial 2019 – Replacing Images
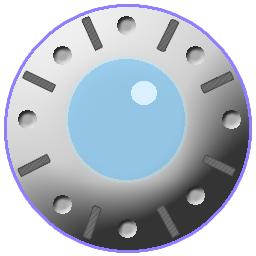
Look at my amazing artwork. This took me a whole 10 minutes in Photoshop. This is going to be our spaceship for our player and for our enemies. I created this as a 256 by 256 pixel image as its square with the image in the middle it is easy to to rotate with no issues, its a power of two image (2,4,8,16,32,64,128,256,512,1024 etc) so its compatible/optimised with older rendering tech. I’m sure you could create something much better so go ahead and make your own.
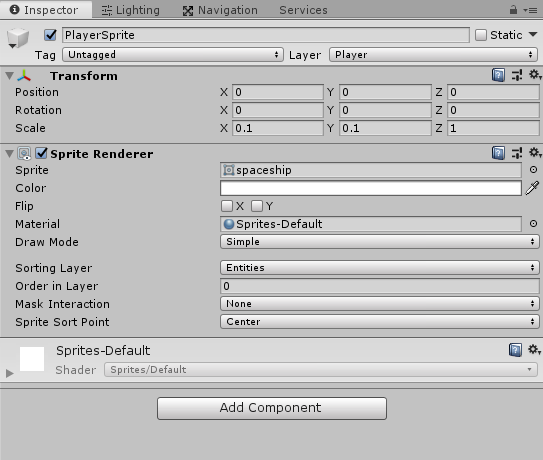
To import this image into our project we simple drag it from our desktop environment into our project window. Preferably the Images folder 😉 then in the Inspector for the Image (not the Player’s sprite) set the pixels per meter to 128. This means for every unit in unity 128 pixels is shown. Apply the image to our Player sprite by selecting the player sprite and choosing the spaceship for our Sprite. Since our player is about 1/10th of a unit, set the sprite scale to 0.1. This should make the sprite match the size of our collider.
 Press play and have a play about. If you notice the pixelation that is due to the image being 256 pixels being compressed to a smaller amount of pixels. There’s a few things we can do to help reduce this issue such as using mipmaps, changing the filter type or using images closer to the actual render size. These however are outside the scope of this section of the tutorial. Later we will attempt to fix this issue.
We have added the image to our player so now lets update our enemy. Simply open the enemy prefab and change the spite to the spaceship image. The colour you applied will still be in effect and should change the enemy to that colour. Using this colour works well with grey-scale images but images with high colour tend to not look good.

That’s enough for this tutorial. The finished project source is available here on Github.
Hey!
I know i am late to the party, but i have a question regarding this “lesson”. (Also please excuse any linguistic mistakes, i am no native speaker)
In my code and also in your github example code, the functionality to let enemies respawn after their deaths is not implemented yet. This is not mentioned in this tutorial so that’s no surprise but i’d love to implement it because i feel like this is an important lesson about how to communicate with the GameManager-Object from outside i.e. calling methods from the GameManager from outisde of it.
The logic behind the next step is clear: We have to call the enemyDied()-method right where we destroy the enemyObject inside the Enemy-Script.
I googled a bit but that matter seems to be more complicated than i anticipated. I just can’t figure out how i can call the GameManager’s method in a simple way, because the instatiation of it gives me a lot of problems. Isn’t there a simple method to do that for the purposes of this tutorial?
I hope you can help me here! If you have any questions about my problem feel free to ask.
Kind regards from Germany!
Hey so far i needed to do some tweaks to make everything work, but now i need to solve something that is beyond my understanding. The Enemy Clones spawn, but they can not reference the Player Object. So they do nothing (no follow, no shooting). I can bump into their rigidBody and thats it. How do i make them behave like the initial enemy we created?
Ok i figured it out. Linking the “Transform” of GameObjects in Prefabs is not allowed, so this tutorial can not work at this point. I fixed it by using the var “GameObject player;” and then cache “player = GameObject.FindWithTag(“Player”);” in void Start. The Player Object has to have the tag of course. Continuing with the tutorial now.